Diffusion Models

Part of CS180 : Intro to Computer Vision and Computational Photography

Diffusion Model Outputs

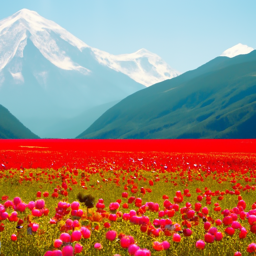
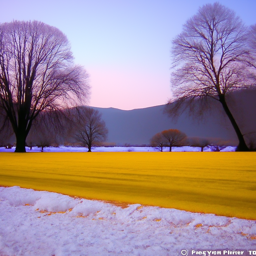
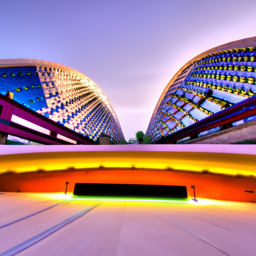
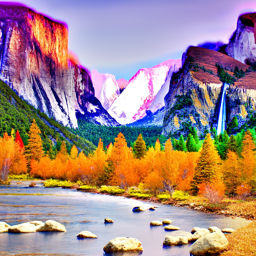
Using DeepFloyd, we can first test out how generating images using the diffusion model works. As well as how the two stages of the model work together to generate images, and how the number of steps affects the quality of the generated images.

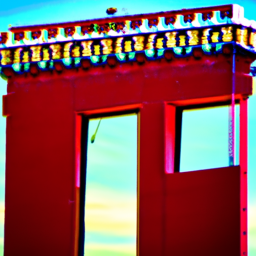
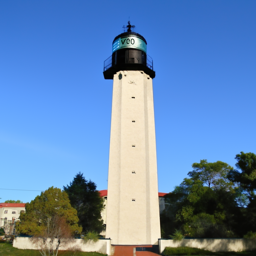
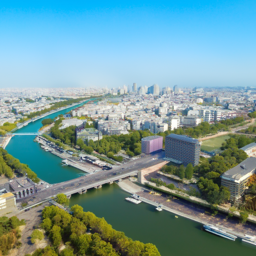
In our further testing, we will be using Berkeley’s Sather Tower (Campanile) as our test image.
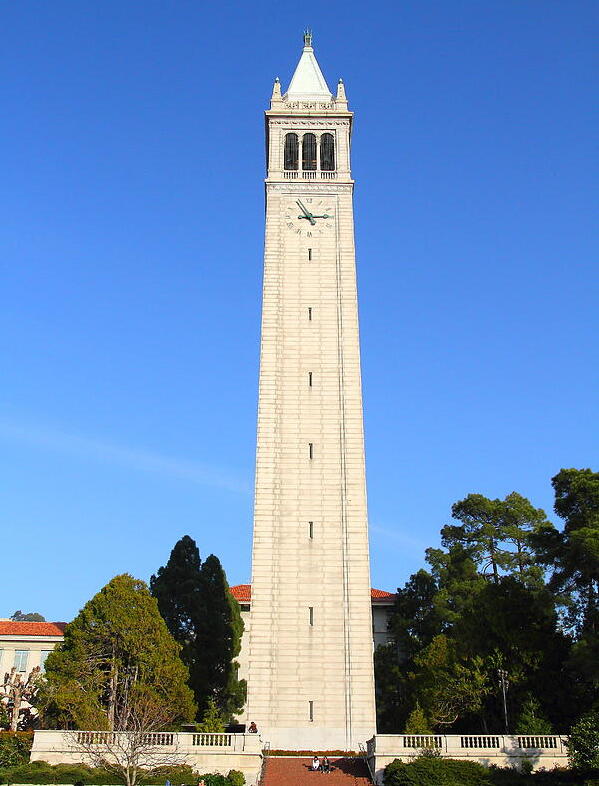
Sather Tower
Sather Tower
Image Generation
A Man Wearing a Hat
Stage 1: 20 Steps, Stage 2: 20 Steps
A Rocket Ship
Stage 1: 20 Steps, Stage 2: 20 Steps
An Oil Painting of a Snowy Mountain Village
Stage 1: 20 Steps, Stage 2: 20 Steps
A Man Wearing a Hat
Stage 1: 20 Steps, Stage 2: 64 Steps
A Rocket Ship
Stage 1: 20 Steps, Stage 2: 64 Steps
An Oil Painting of a Snowy Mountain Village
Stage 1: 20 Steps, Stage 2: 64 Steps
A Man Wearing a Hat
Stage 1: 64 Steps, Stage 2: 64 Steps
A Rocket Ship
Stage 1: 64 Steps, Stage 2: 64 Steps
An Oil Painting of a Snowy Mountain Village
Stage 1: 64 Steps, Stage 2: 64 Steps

We can notice that when stage 1’s steps remain the same, the stage 2’s steps chance the details of the image. The more steps in stage 2, the more detailed the image becomes. However, when more steps are added to stage 1, the image is denoised to a different image, such that the two results of stage 1 may not look the same anymore.

Sampling Loops

First let us start by implementing the forward process of diffusion, adding noise.

Noise Addition
Sather Tower
t = 250
Sather Tower
t = 500
Sather Tower
t = 750

Classical Denoising

The classical way we could attempt to denoise noisy images is to apply gaussian blurs. Lets us attempt that on our noised images.

Gaussian Blur
Sather Tower
t = 250
Sather Tower
t = 500
Sather Tower
t = 750

One-Step Denoising

Now we can try using our UNet to predict the noise in the image, and predict \(x_{0}\), the original image from the noised image \(x_{t}\) and our prediced noise epsilon \(\epsilon\).

One-Step Denoising
Sather Tower
t = 250
Sather Tower
t = 250
Sather Tower
t = 500
Sather Tower
t = 500
Sather Tower
t = 750
Sather Tower
t = 750

We can see that the UNet is able to denoise the image, and the denoised image is very similar to the original image, however as the noise increases, the denoised image becomes less representative of the original image.

Iterative Denoising

Now instead of just denoising the image once, we can denoise the image multiple times, and by doing so, we can see that the denoised image becomes more representative of the original image.

Iterative Denoising
Sather Tower
t = 660
Sather Tower
t = 510
Sather Tower
t = 360
Sather Tower
t = 210
Sather Tower
t = 60
Sather Tower
Noisy
Sather Tower
One Step
Sather Tower
Iteratively Cleaned

Diffusion Model Sampling

Now we can pass in noise, and start at maximum noise to denoise the image iteratively all the way from the noisy image to an “original image”, we will use the prompt embedding “a high quality photo”.

Diffusion Model Sampling
Iter 0
Iter 0
Iter 1
Iter 1
Iter 2
Iter 2
Iter 3
Iter 3
Iter 4r
Iter 4

Classifier Free Guidance

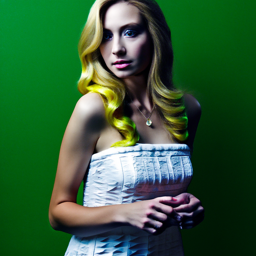
To improve our images, we can calculate the noise estimation for our timestep with a unconditional classifier, and use that to guide our denoising process.

Classifier Free Guidance
Iter 0 Upsampled
Iter 0 Upsampled
Iter 0
Iter 0
Iter 1 Upsampled
Iter 1 Upsampled
Iter 1
Iter 1
Iter 2 Upsampled
Iter 2 Upsampled
Iter 2
Iter 2
Iter 3 Upsampled
Iter 3 Upsampled
Iter 3
Iter 3
Iter 4 Upsampled
Iter 4 Upsampled
Iter 4
Iter 4

Image to Image Translation

Now we can take an image, add noise, then denoise it to change the image to a different image.

Image to Image Translation
Start Index 1
Start Index 1
Start Index 3
Start Index 3
Start Index 5
Start Index 5
Start Index 7
Start Index 7
Start Index 10
Start Index 10
Start Index 20
Start Index 20
Web1 Image
Web1 Image
Web1 Start Index 1
Web1 Start Index 1
Web1 Start Index 3
Web1 Start Index 3
Web1 Start Index 5
Web1 Start Index 5
Web1 Start Index 7
Web1 Start Index 7
Web1 Start Index 10
Web1 Start Index 10
Web1 Start Index 20
Web1 Start Index 20
Web2 Image
Web2 Image
Web2 Start Index 1
Web2 Start Index 1
Web2 Start Index 3
Web2 Start Index 3
Web2 Start Index 5
Web2 Start Index 5
Web2 Start Index 7
Web2 Start Index 7
Web2 Start Index 10
Web2 Start Index 10
Web2 Start Index 20
Web2 Start Index 20

Hand Drawn and Web Images

Let us do the same for hand drawn images and web images.

Hand Drawn and Web Images
Web Image
Web Image
Web Start Index 1 Noisy
Web Start Index 3 Noisy
Web Start Index 5 Noisy
Web Start Index 7 Noisy
Web Start Index 10 Noisy
Web Start Index 20 Noisy
Web Start Index 1
Web Start Index 1
Web Start Index 3
Web Start Index 3
Web Start Index 5
Web Start Index 5
Web Start Index 7
Web Start Index 7
Web Start Index 10
Web Start Index 10
Web Start Index 20
Web Start Index 20
Web Start Index 1 Upsampled
Web Start Index 3 Upsampled
Web Start Index 5 Upsampled
Web Start Index 7 Upsampled
Web Start Index 10 Upsampled
Web Start Index 20 Upsampled
Draw1 Image
Draw1 Image
Draw1 Start Index 1 Noisy
Draw1 Start Index 3 Noisy
Draw1 Start Index 5 Noisy
Draw1 Start Index 7 Noisy
Draw1 Start Index 10 Noisy
Draw1 Start Index 20 Noisy
Draw1 Start Index 1
Draw1 Start Index 1
Draw1 Start Index 3
Draw1 Start Index 3
Draw1 Start Index 5
Draw1 Start Index 5
Draw1 Start Index 7
Draw1 Start Index 7
Draw1 Start Index 10
Draw1 Start Index 20
Draw1 Start Index 1 Upsampled
Draw1 Start Index 3 Upsampled
Draw1 Start Index 5 Upsampled
Draw1 Start Index 7 Upsampled
Draw1 Start Index 10 Upsampled
Draw1 Start Index 20 Upsampled
Draw2 Image
Draw2 Image
Draw2 Start Index 1 Noisy
Draw2 Start Index 3 Noisy
Draw2 Start Index 5 Noisy
Draw2 Start Index 7 Noisy
Draw2 Start Index 10 Noisy
Draw2 Start Index 20 Noisy
Draw2 Start Index 1
Draw2 Start Index 1
Draw2 Start Index 3
Draw2 Start Index 3
Draw2 Start Index 5
Draw2 Start Index 5
Draw2 Start Index 7
Draw2 Start Index 7
Draw2 Start Index 10
Draw2 Start Index 20
Draw2 Start Index 1 Upsampled
Draw2 Start Index 3 Upsampled
Draw2 Start Index 5 Upsampled
Draw2 Start Index 7 Upsampled
Draw2 Start Index 10 Upsampled
Draw2 Start Index 20 Upsampled

Inpainting

Now if we noise a part of the image and try to inpaint it, we get the following results.

Inpainting
To Replace
To Replace
Mask
Mask
Inpainted
Inpainted
Inpainted Upsampled
Inpainted Upsampled
Web1 Image
Web1 Image
Web1 Inpainted
Web1 Inpainted
Web1 Inpainted Upsampled
Web2 Image
Web2 Image
Web2 Inpainted
Web2 Inpainted
Web2 Inpainted Upsampled

Text Conditioned Image to Image Translation

Now let us add some prompt embeddings while denoising these sections.

Text Conditioned Image to Image Translation
Test Image Start Index 1
Test Image Start Index 3
Test Image Start Index 5
Test Image Start Index 7
Test Image Start Index 10
Test Image Start Index 20
Web1 Image
Web1 Image
Web1 Start Index 1
Web1 Start Index 1
Web1 Start Index 3
Web1 Start Index 3
Web1 Start Index 5
Web1 Start Index 5
Web1 Start Index 7
Web1 Start Index 7
Web1 Start Index 10
Web1 Start Index 10
Web1 Start Index 20
Web1 Start Index 20
Web2 Image
Web2 Image
Web2 Start Index 1
Web2 Start Index 1
Web2 Start Index 3
Web2 Start Index 3
Web2 Start Index 5
Web2 Start Index 5
Web2 Start Index 7
Web2 Start Index 7
Web2 Start Index 10
Web2 Start Index 10
Web2 Start Index 20
Web2 Start Index 20

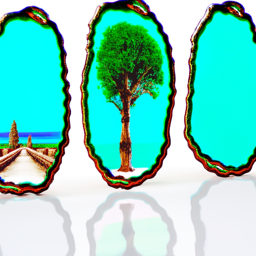
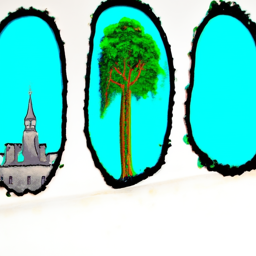
Visual Anagrams

By using the prompt embeddings and some flipping, we can generate visual anagrams by combining our noise estimates!

Visual Anagrams
An anagram of the amalfi coast and a man
Amalfi Coast and Man
An anagram of an old man and a campfire
Old Man and Campfire
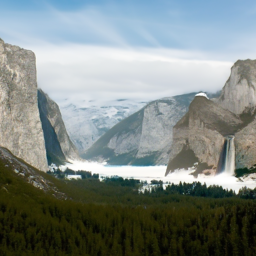
An anagram of waterfalls and a skull
Waterfalls and Skull

Hybrid Images
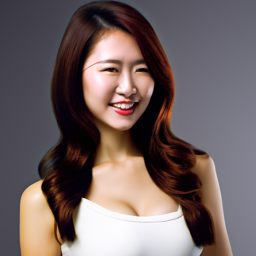
Finally, we can create hybrid images by combining the low-frequency components of one image with the high-frequency components of another image.

Hybrid Images
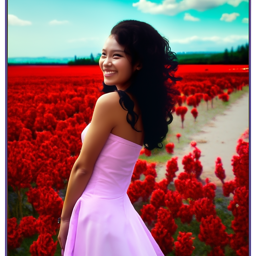
Hybrid of a dog and the Amalfi coast
Dog and Amalfi Coast
Hybrid of an old man and the Amalfi coast
Old Man and Amalfi Coast
Hybrid of waterfalls and a skull
Waterfalls and Skull

Bells and Whistles
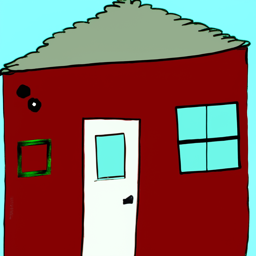
I wanted to design a course logo, so I generated prompt embeddings for a photo of an eye, and a photo of a cpu, and generated a hybrid image of the two. The result is shown below.

Bells and Whistles
Class Logo
Class Logo

Training a Single Step Denoising Model

Now we can attempt to train a single step denoising model, we will be using the MNIST dataset for this task.

Training a Single Step Denoising Model
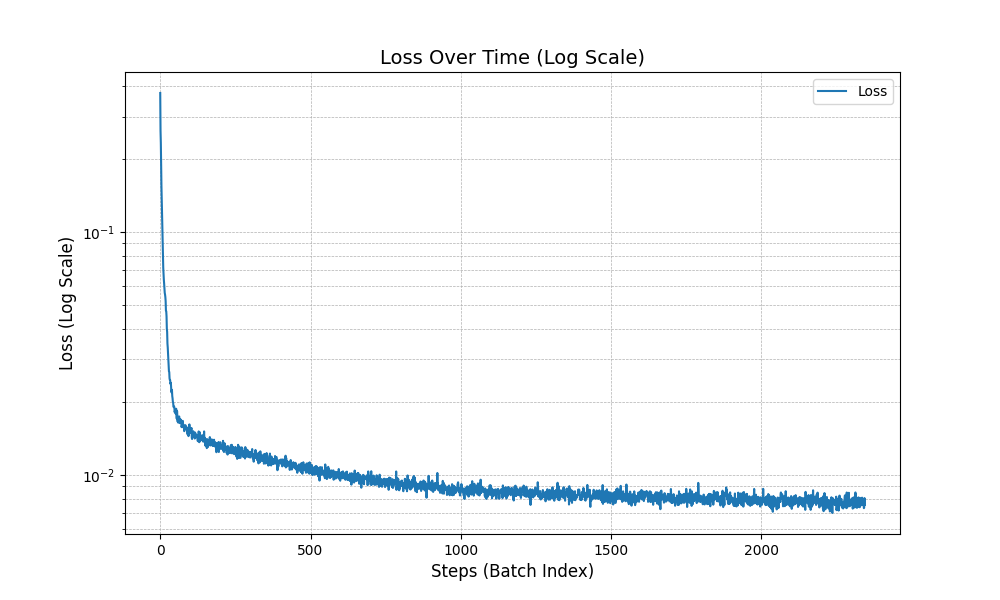
Loss Over Time
Loss Over Time
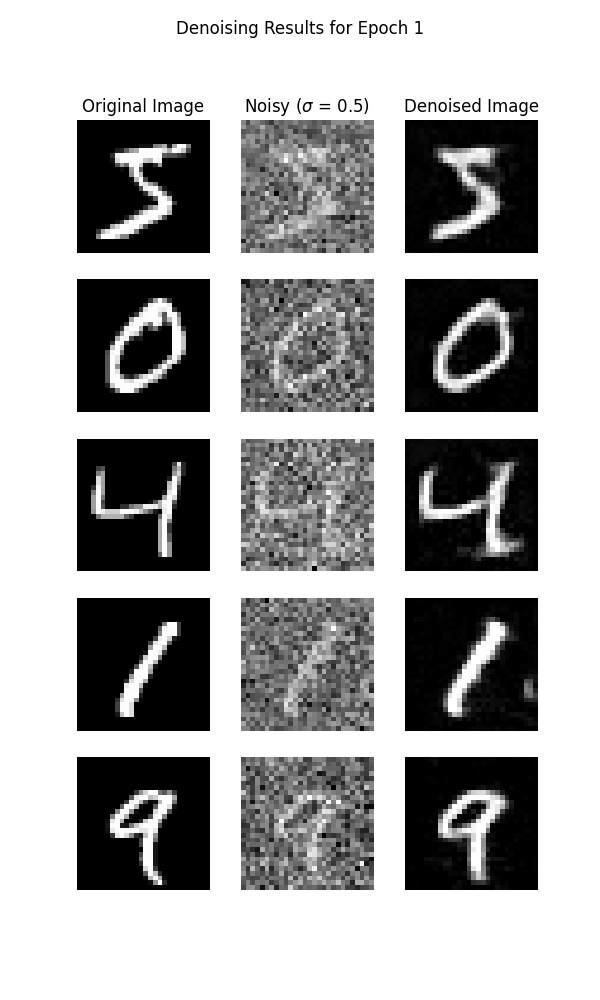
Denoising Results Epoch 1
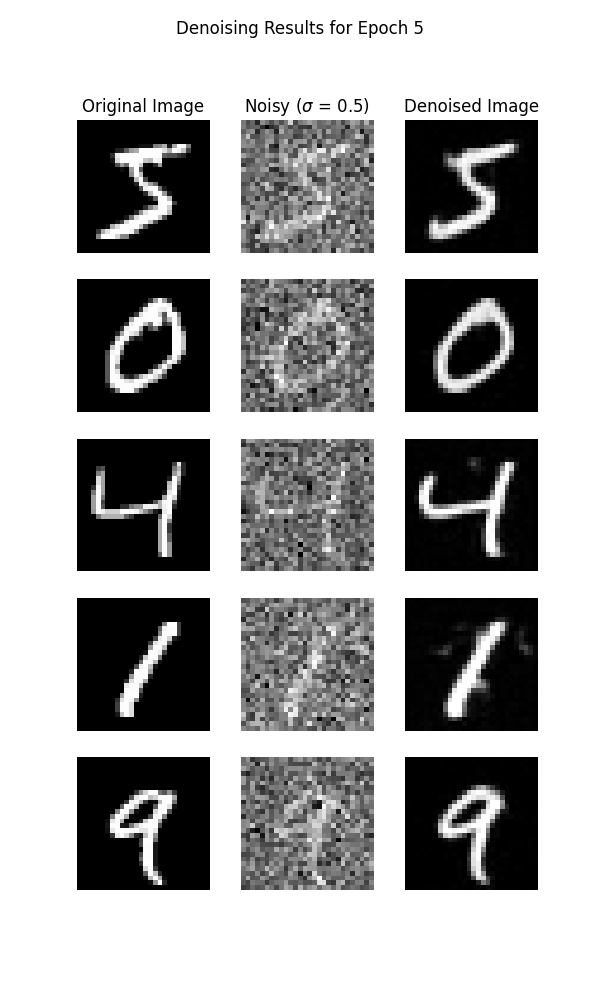
Denoising Results Epoch 5

The results are pretty good, however what happens when we give the model an image with noise levels that it was not trained on?

Out of Distribution Testing

That was not as good. Let us see if we can improve the model.

Training a Diffusion Model

Now we will train a UNet to iteratively denoise the image, we will be using the MNIST dataset for this task.

Training a Diffusion Model
Loss Over Time
Loss Over Time
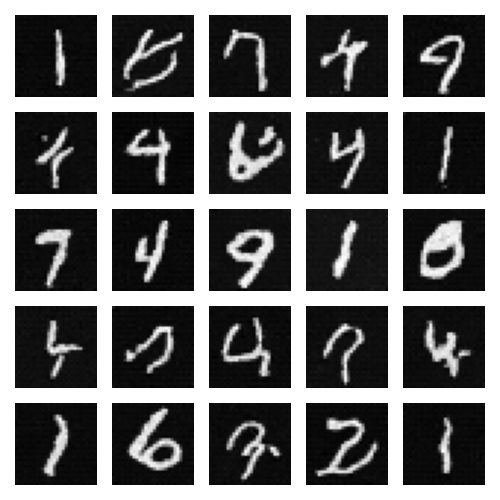
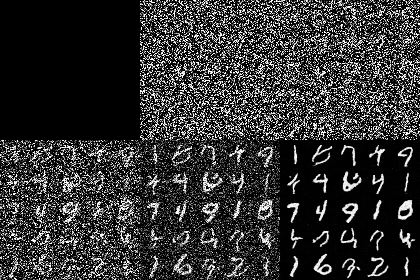
Samples Epoch 5
Samples Epoch 5
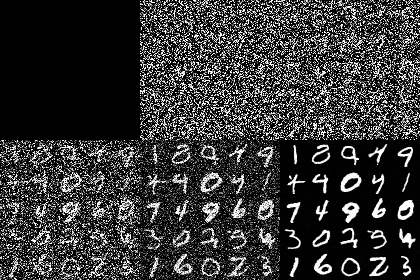
Samples Epoch 20
Samples Epoch 20
Intermediate Frames Epoch 5
Intermediate Frames Epoch 20

The results are much better than the single step model, however we cannot control what number class the model generates. Let us see if we can improve the model.

Training a Class Conditional Diffusion Model

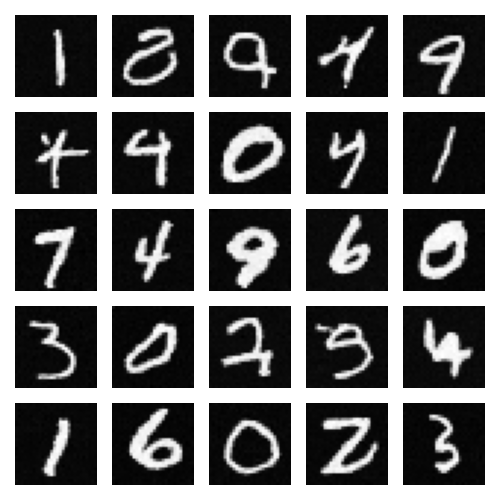
Now we will provide the model with the class label one-hot encoded, and perform the same task as before.

Training a Class Conditional Diffusion Model
Loss Over Time
Loss Over Time
Samples Epoch 5
Samples Epoch 5
Samples Epoch 20
Samples Epoch 20
Intermediate Frames Epoch 5
Intermediate Frames Epoch 20